Want to make a Spotify playlist as public? We’ll teach you in this tutorial how to make this change.
The “Make Public” option in Spotify’s playlist options menu is the way to set a playlist as public again in the world’s most widely used music streaming app. In this tutorial with pictures we teach you how you can change the privacy of your playlists from “Secret” to “Public” in Spotify.
Spotify allows the privacy of playlists created by your users to be changed. Through the options “Make Secret” and “Make Public” you can choose to hide your playlists that are displayed in your profile or make them public for any other user of the music player.
When you change the privacy of a Spotify playlists to “Secret” it no longer appears in both your profile and Spotify search box results, but remains accessible to people who have the link to it.
If you have set a playlist as secret you have the option to make it public for all Spotify users again through the playlist privacy options. In this tutorial, we’ll introduce you the step-by-step on how to make a Spotify playlist public, check it out as below.
Making a Spotify playlist public
Follow the steps in the tutorial below and learn how to change a Spotify secret playlist to a public playlist that everyone can see when they access your music streaming service profile.
- Locate and launch the Spotify app on your smartphone.
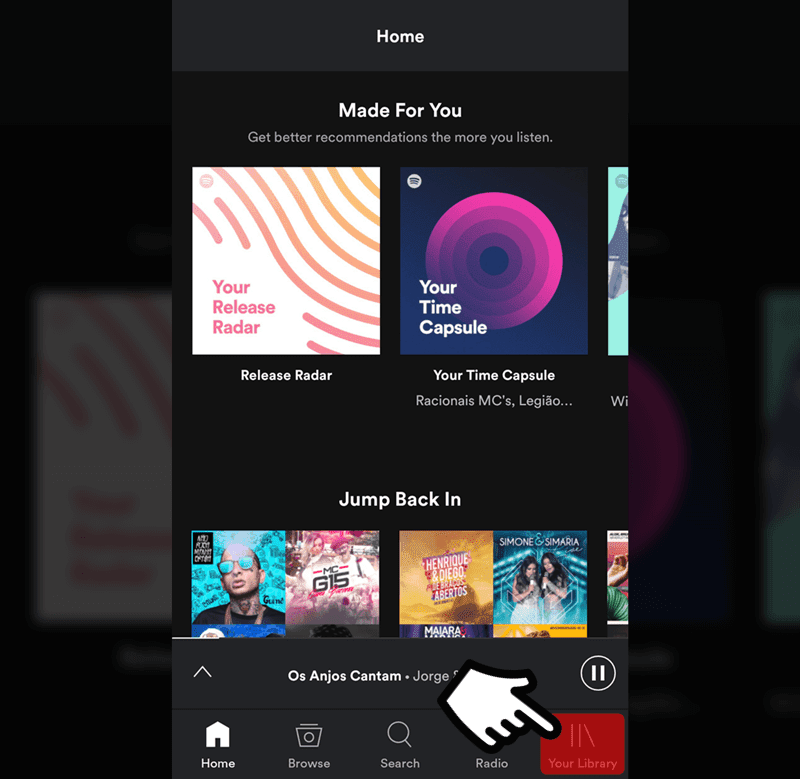
- After starting the application, tap the “Your Library” option located in the lower right corner of the screen to access your library where you can find your saved playlists and songs.
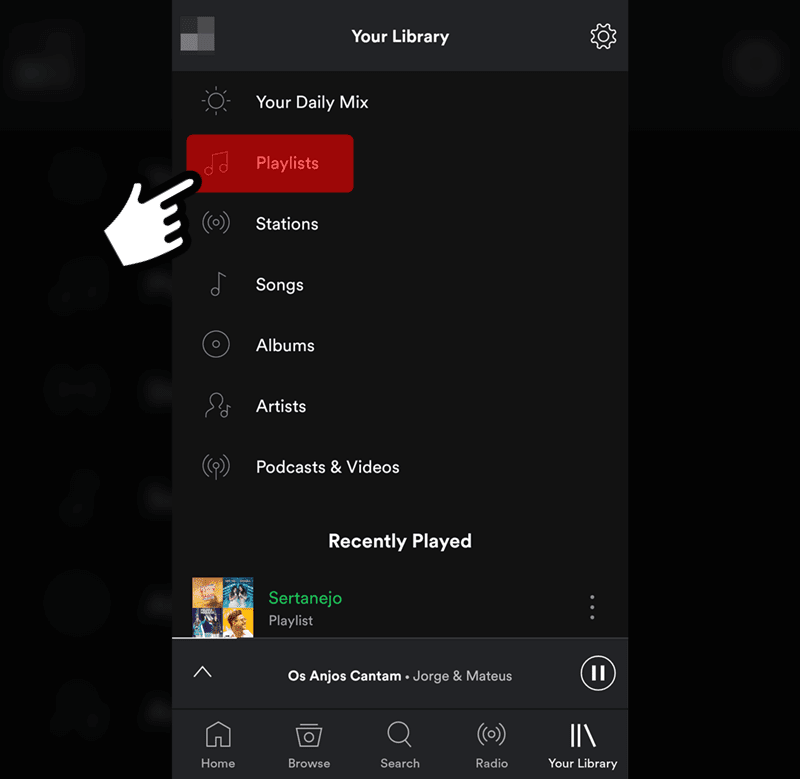
- This is your Spotify library. Touch the “Playlists” option to view all your playlists in the music app.
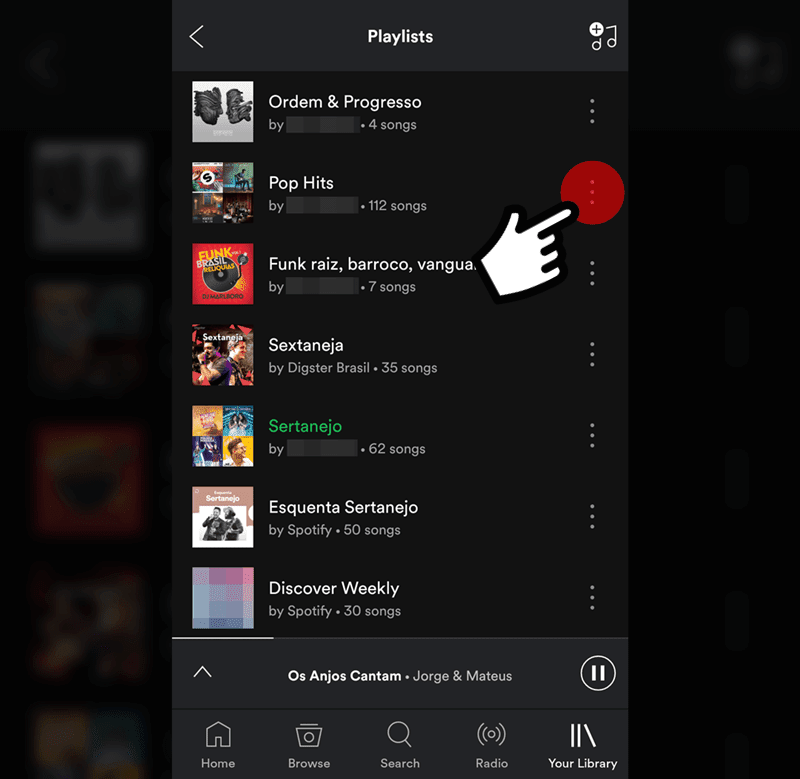
- Now your playlists are displayed on the screen. Search for the secret playlist you want to make public, then tap the “Menu” button (three vertical dots) located on the right side of the desired playlist to display its options menu.
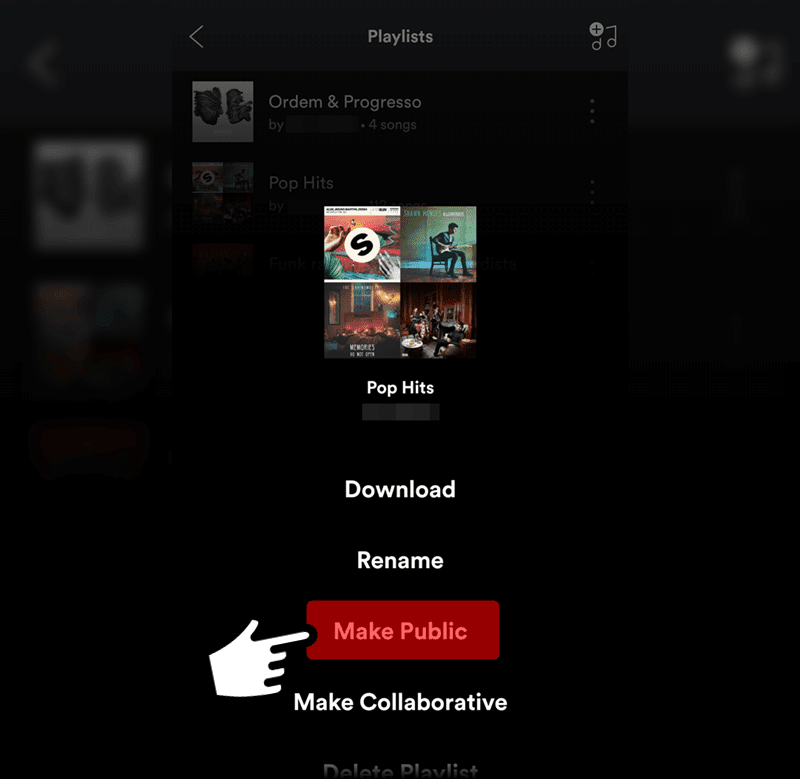
- The playlist options menu has been displayed on your screen. Now just tap the “Make Public” option to make this Spotify playlist public.
